
Your Complete Beginners Guide to Vinyl Cutting
The Beginner's Guide to Vinyl Cutting
Everything you need to go from zero to your first finished project machines, materials, software, and the steps most guides skip.
What You'll Need
Vinyl Cutter
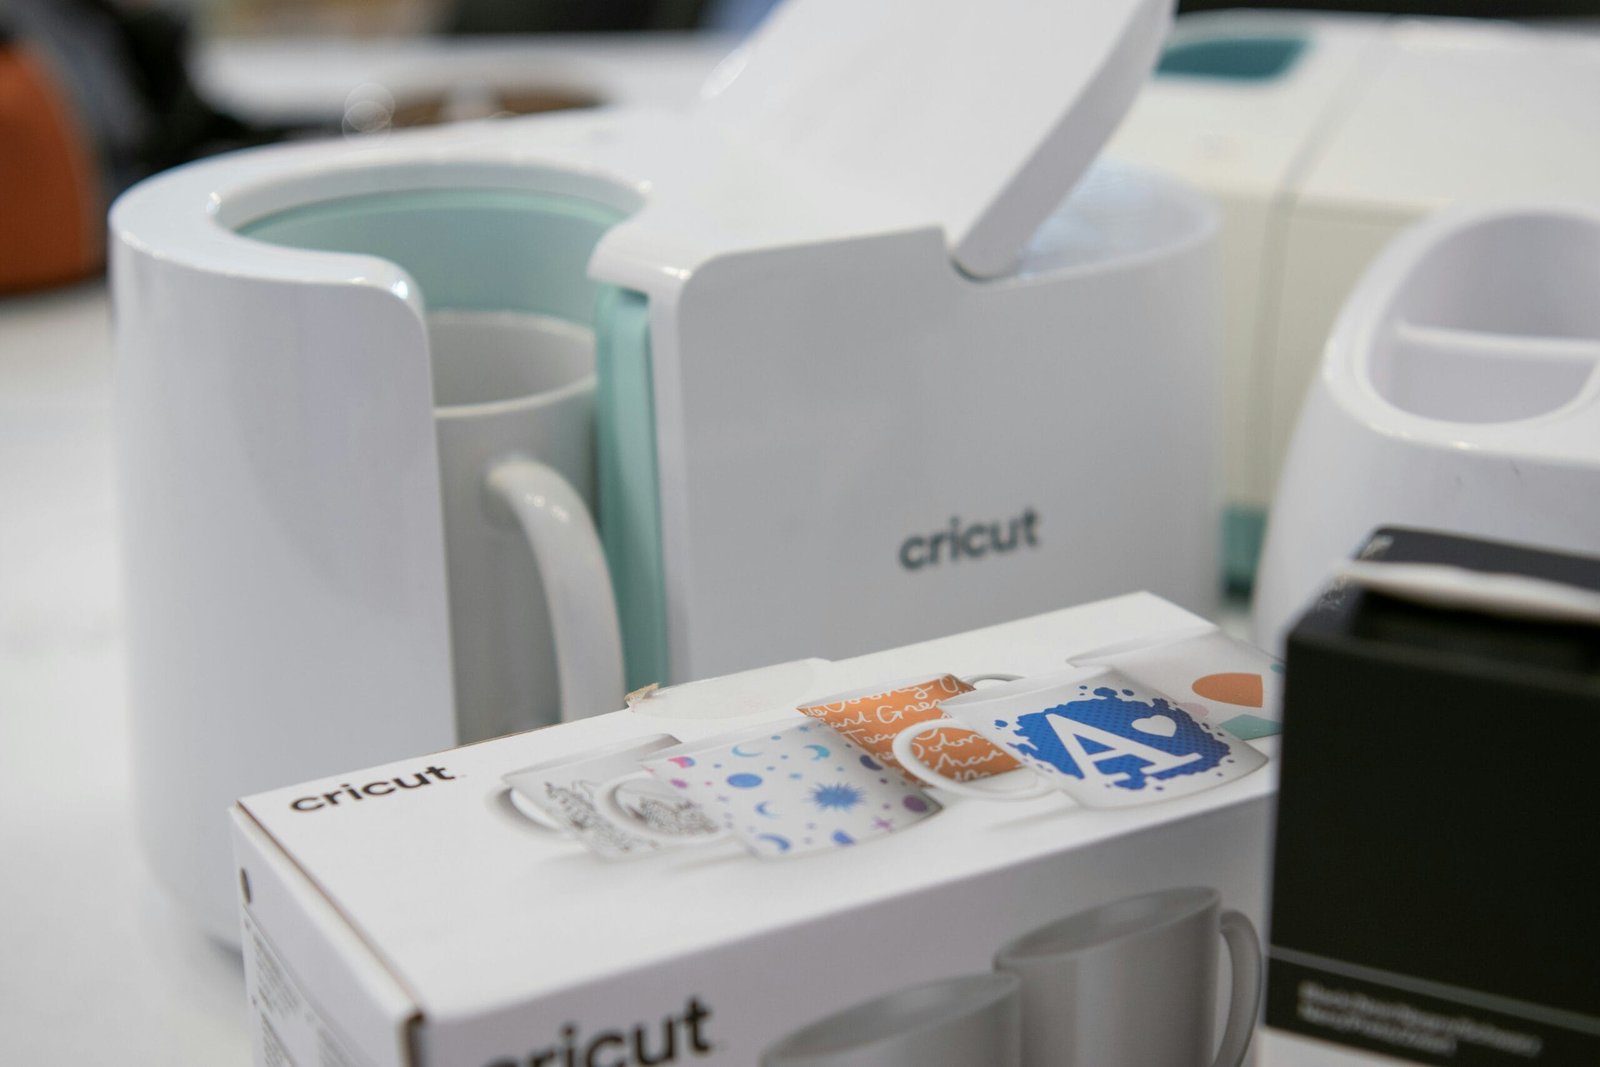
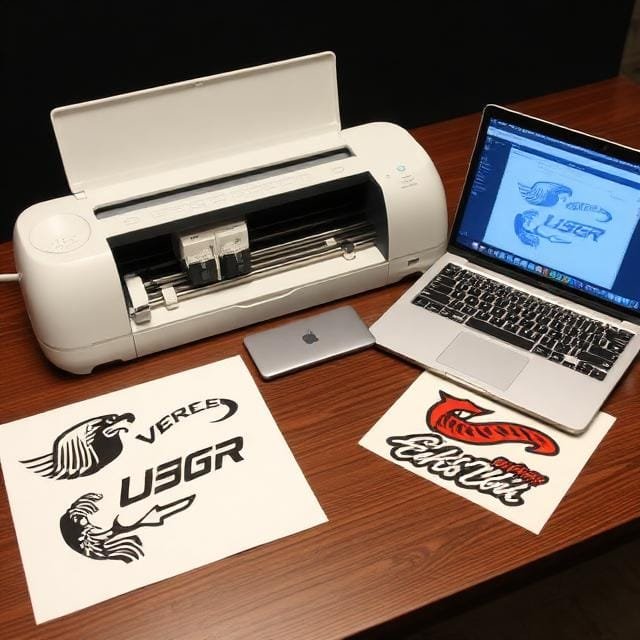
This is your main tool. For beginners, a Cricut Explore 4 or Silhouette Cameo 5 are the two most popular starting points both are reliable, well-supported, and have massive online communities to help when you get stuck. Don't overbuy. A mid-range machine handles 95% of beginner projects.
Vinyl Rolls
Adhesive vinyl is what you'll use most to start it comes in hundreds of colors and finishes (matte, glossy, glitter, holographic). Buy a sampler pack first before committing to bulk rolls. For heat-applied projects like shirts, you'll want HTV (heat transfer vinyl) instead they're different products with different applications.
Transfer Tape
Once your design is cut and weeded, transfer tape lifts it off the backing and lets you place it on your surface accurately. Medium-tack tape works for most situations. The clear gridded versions make alignment much easier for beginners.
Weeding Tools
Weeding is the process of removing the vinyl you don't want after cutting. A basic hook tool is all you need to start. The fine-point ones from Amazon work just as well as branded sets for a fraction of the price.
Cutting Mat
Your vinyl sits on this while cutting. Cricut and Silhouette both use their own mat systems. Green mats (standard grip) work for most materials buy a couple since they lose stickiness over time and are cheap to replace.
Design Software
If you buy a Cricut, you'll use Cricut Design Space. Silhouette machines use Silhouette Studio. Both have free versions that handle everything a beginner needs. You can also design in Canva or Inkscape and import SVG files.
Heat Press (optional to start)
Only needed if you're doing apparel t-shirts, bags, hats. A household iron technically works but gives inconsistent results. A basic clamshell heat press is a worthwhile upgrade once you know you like HTV projects.
Scraper / Squeegee
Used to press transfer tape firmly onto your cut design, and again when applying vinyl to a surface. The plastic scrapers that come bundled with starter kits are fine. A credit card in a pinch works too.
Step 1 — Choose or Create Your Design
Start with something simple a basic shape, a word, or a small icon. Avoid thin lines and tiny text on your first few cuts. Download free SVG files from sites like Design Bundles or Creative Fabrica if you don't want to design from scratch. Make sure your file is saved as an SVG, not a PNG or JPG — only SVGs cut as vectors.
Step 5 — Cut Your Design
Hit cut and let the machine run. Don't touch it. Most cuts take under two minutes for simple designs. When it finishes, unload the mat before peeling the vinyl off never pull the vinyl directly off the machine.
Step 2 — Set Up Your Software
Open your design software and import your file. Set the dimensions this is where beginners often go wrong, so double-check the size against a ruler before you cut anything. Select your material type in the software so it sets the correct blade pressure automatically.
Step 6 — Weed Your Design
Use your weeding tool to remove the vinyl you don't want the parts that aren't your design. Work from the outside edges inward. For small details, go slowly. Good lighting makes a huge difference here.
Step 3 — Load Your Vinyl
Place your vinyl face-up on your cutting mat, pressing it down firmly across the whole surface. Load the mat into the machine straight a skewed mat means skewed cuts. Most machines have a load button that grips the mat and positions it automatically.
Step 7 — Apply Transfer Tape
Cut a piece of transfer tape slightly larger than your design. Peel the backing and lay it over your weeded vinyl, rubbing firmly with a scraper from the center outward. Flip it over and slowly peel the vinyl backing away your design should now be stuck to the transfer tape.
Step 4 — Do a Test Cut
Never skip this. A test cut is a tiny shape (usually a small square and circle) that checks whether your blade pressure is right. If the cut goes through the backing, your pressure is too high. If the vinyl tears when you weed it, your pressure is too low. Adjust and test again until the cut peels cleanly and the backing stays intact.
Step 8 — Apply to Your Surface
Clean your surface with isopropyl alcohol first any dust or oil and the vinyl won't stick properly. Position your design, press down the center, then squeegee from the middle outward to avoid bubbles. Slowly peel the transfer tape back at a 45-degree angle. If any part lifts with the tape, press it back down and try again.
Mistakes That Trip Up Almost Every Beginner
Mistake 1 — Skipping the test cut
It takes 30 seconds and saves your entire sheet of vinyl. Always do it, every time, even on materials you've cut before. Blade pressure drifts, especially after a blade change.
Mistake 2 — Not cleaning the surface before applying
Vinyl doesn't care how good your design looks if the surface has fingerprints, dust, or residue on it, the vinyl won't bond properly. Wipe with isopropyl alcohol and let it fully dry before applying.
Mistake 3 — Pulling transfer tape straight up
Pulling up at 90 degrees rips the vinyl off with it, especially on detailed designs. Always peel back at a low 45-degree angle, slow and steady.
Mistake 4 — Using the wrong vinyl for the surface
Removable vinyl for indoor use on smooth surfaces. Permanent vinyl for outdoor use, tumblers, or anything that needs to last. HTV for fabric. Using the wrong type causes peeling or damage, usually after the first wash or a week in the sun.
Mistake 5 — Cutting through the backing
If your blade is cutting all the way through the vinyl backing, your pressure is too high. This ruins the mat, shreds the design, and dulls the blade faster. Turn pressure down one notch and retest.
Mistake 6 — Buying cheap no-name vinyl first
It's tempting to save money upfront, but low-quality vinyl weeds badly, bubbles on application, and peels prematurely. Oracal 651 and Siser Easyweed are the two brands that consistently work well and are priced fairly. Start with those.

Common Questions, Straight Answers
What's the best vinyl cutter for a complete beginner?
The Cricut Explore 4 is the easiest starting point the software is beginner-friendly, the machine is reliable, and there's a massive community online if you get stuck. If you want more software flexibility and don't mind a slightly steeper learning curve, the Silhouette Cameo 5 is excellent. Both cut adhesive vinyl, HTV, cardstock, and more.
What's the difference between adhesive vinyl and HTV?
Adhesive vinyl has a sticky back and is used on hard surfaces cups, walls, windows, signs. HTV (heat transfer vinyl) is applied with heat to fabric. They look similar but are completely different products and not interchangeable. Buy the right one for your project before you cut.
Why is my vinyl lifting at the edges after application?
Almost always one of three reasons: the surface wasn't clean enough before applying, you're using removable vinyl somewhere that needs permanent, or you peeled the transfer tape too fast. Re-clean the surface, press the lifted edge back down firmly with a scraper, and give it 24 hours to bond before using the item.
Can I use a regular inkjet printer instead of a vinyl cutter?
A printer makes images a vinyl cutter cuts shapes. They do different things. Some people use a printable vinyl with a printer first, then cut around the design with a cutter (called print-then-cut), which is great for multi-color detailed designs. But a printer alone can't replace a cutter for most vinyl projects.
How long does vinyl last once applied?
Oracal 651 permanent vinyl is rated for 6 years outdoors. Indoor permanent vinyl typically lasts indefinitely with normal use. HTV on fabric lasts 50+ washes if applied correctly. Cheap no-name vinyl: much shorter, and the results vary wildly.
Do I need to buy the brand-name Cricut vinyl and tools?
No. Cricut's branded vinyl and accessories are overpriced for what they are. The machine is worth buying the consumables aren't. Oracal 651 for adhesive vinyl, Siser Easyweed for HTV, and any Cricut-compatible blades and mats from Amazon will save you significant money with identical results.
What is weeding in vinyl cutting?
Weeding is the process of removing excess vinyl from around your design. This step is crucial for clean, professional-looking results.
What file format do I need for cutting?
SVG is the standard for most vinyl cutting software. If you're downloading designs, always look for SVG files. PNG and JPG are image formats, not vector files they can't be cut cleanly as outlines without converting them first, which adds extra steps.
Is vinyl cutting suitable for small business use?
Absolutely! Vinyl cutting is a great way to produce custom products like decals, t-shirts, and signs, making it ideal for small businesses.
